03-11-2013 By R.R
Certainly adding RAM to our laptop can improve its performance, but end result varies on the operating system, and overall hardware configuration. More RAM can be useful in applications that require a big footprint in RAM or when you are doing video or photo editing, but standard applications and games may not benefit at all.
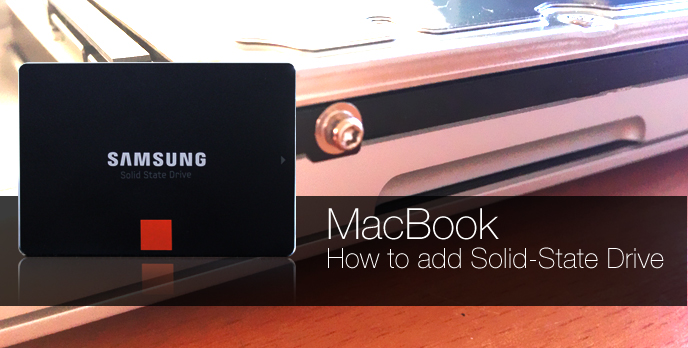
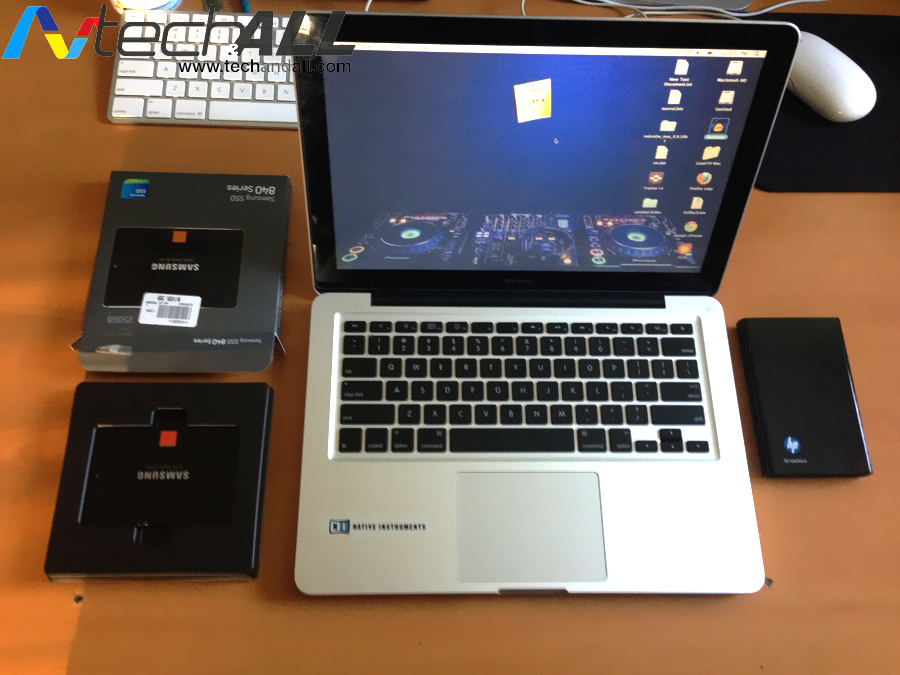
Here’s an upgrade most of us should consider in: Switching out our platter hard driver to a Solid State Drive (SSD). The phenomenon behind SSD technology offers a significant improvement in performance, booth time, application load time, low battery consumption, shock-resistant, and all this while operating at cooler temperature. Today SSD’s are relatively cheap compared to a year two ago, as more and more manufacturer like Samsung, Intel, Toshiba floods the market with various size, and capacity SSD, the price became more competitive and affortable. For this DIY we will be using a Samsung 250GB SSD priced at $189.99
So here’s how to add a SSD to your early model MacBook, 13-inch, Early 2009 – This is not for MacBook Pro, however the steps are very similar.
What you will need:
Phillips 00 Screwdriver – Standard Phillips screwdriver
T6 Torx Screwdriver – Standard Torx screwdriver
SSD 2.5″ Solid State Drive – You can pick one up from Tiger Direct. If your interested in the Samsung 250GD SSD we are using click here
Getting started
1.To start let’s turn off the Mac book, and unplug charging cable.
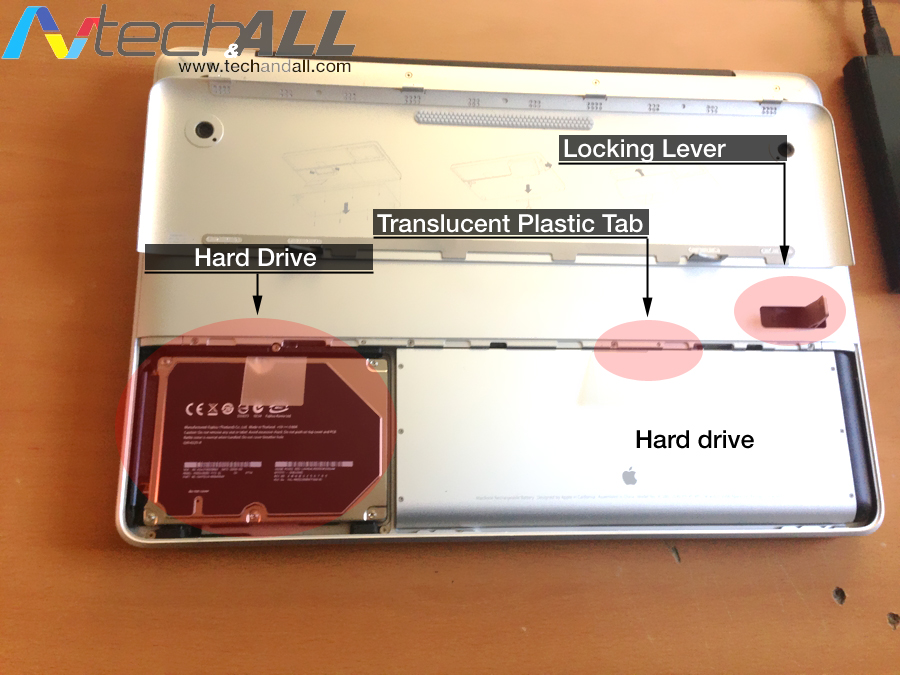
2. Remove the battery cover from your Mac book where your hard drive resides, do this by turning the computer over, lift the locking lever, lift off access door
3. Grab the translucent plastic tab and pull the battery up .You will now see your platter hard drive (Illustration high lighted below for reference)
Let’s remove the hard drive:
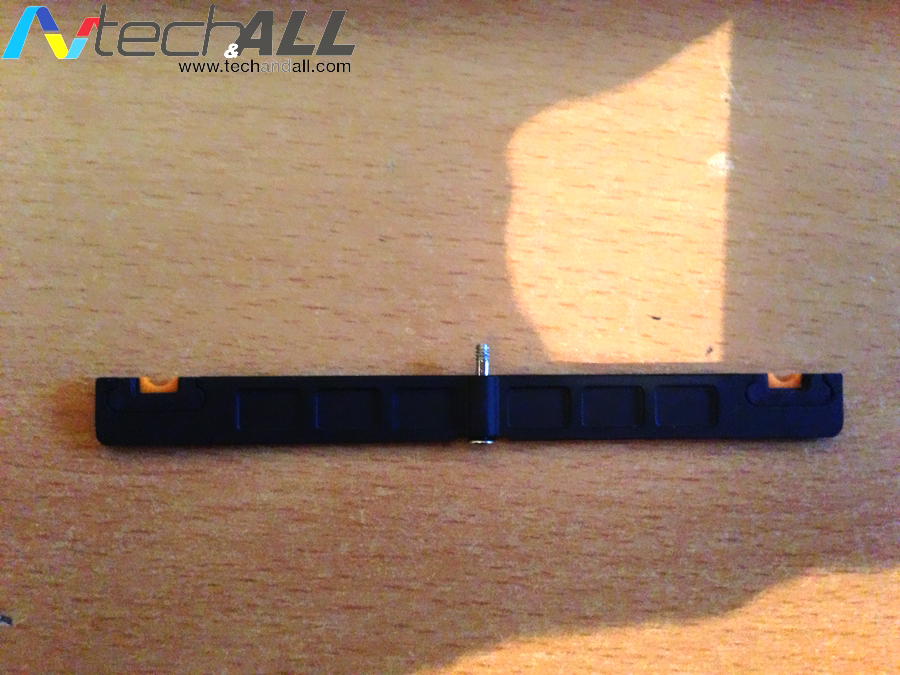
1. The hard drive is held by a bracket, which is secured by a Phillips screw. Using the Phillips screw driver, carefully remove it (Illustration high lighted below for reference)

2. Lift the bracket up, and place it in a safe place. The bracket and the Phillips screw are linked together. (Illustration high lighted below for reference)
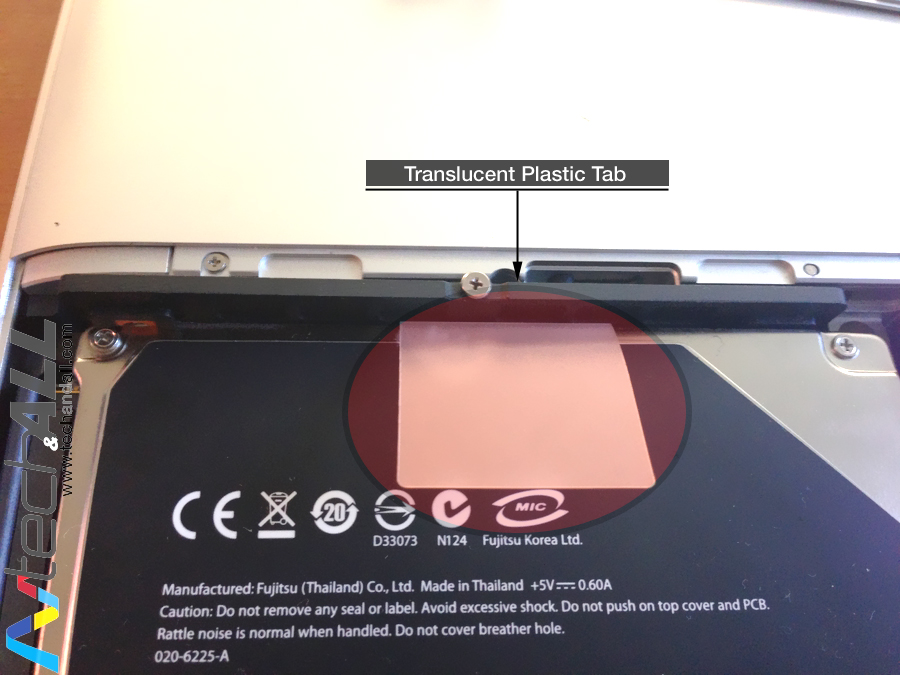
3. Grab the translucent plastic tab top of the hard drive and carefully pull the hard drive up. A cable connector will require removal (see next step).
4. Remove the hard drive from the connector by pulling the cable connector straight out from the hard drive. (Illustration high lighted below for reference)

Preparing the solid state hard drive
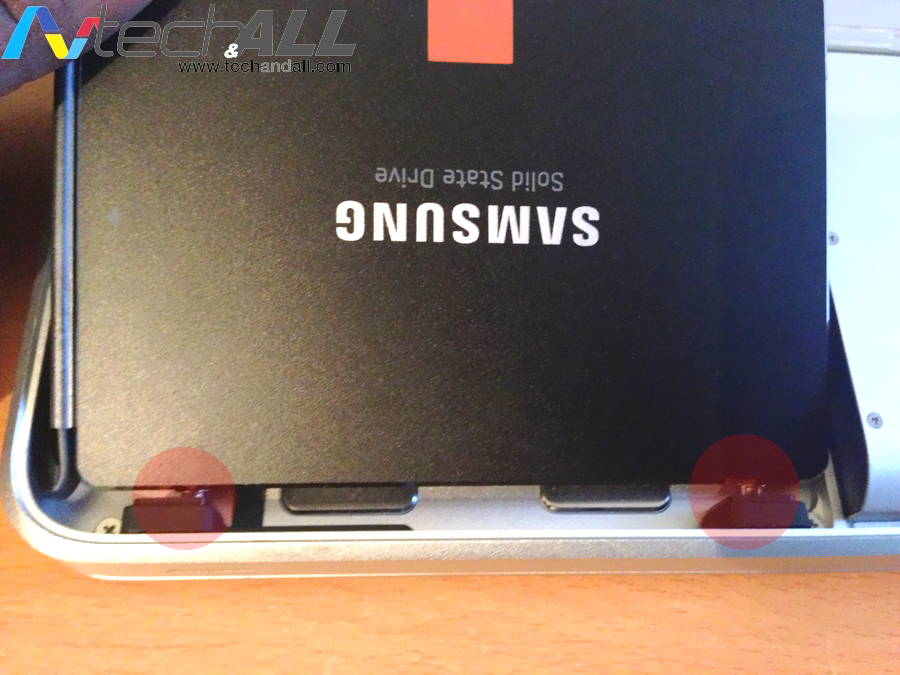
1. Locate the 4 Torx pins on the platter hard drive, these are the mount of the hard drive that will need to be transferred over to the new SSD (Illustration high lighted below for reference)
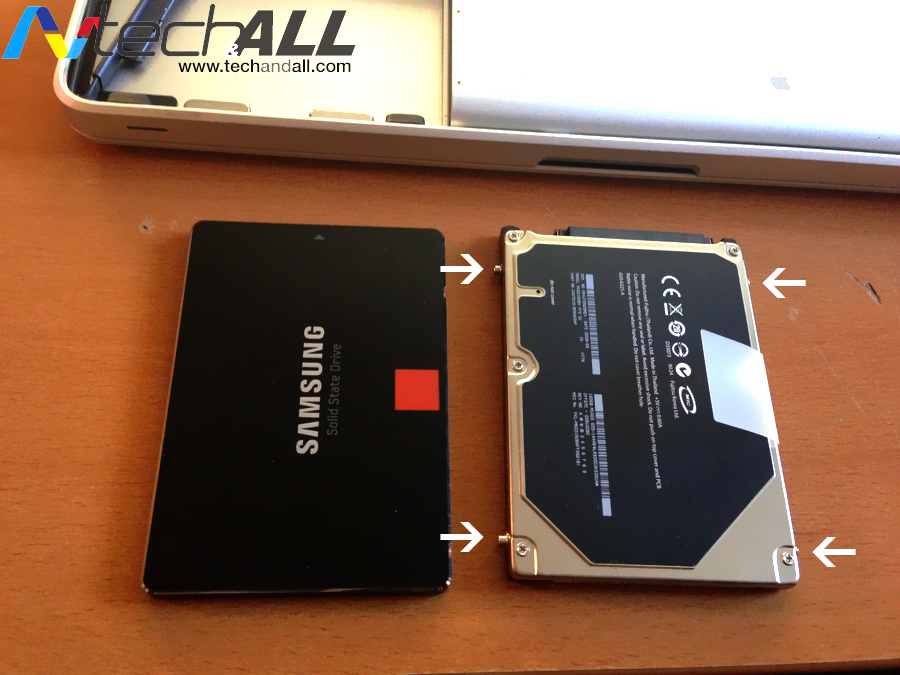
2. Using Torx T6 screwdriver, remove then transfer over the torx screws to the SSD (Illustration high lighted below for reference)
— The transferof the Torx screw mount to the SSD. (Illustration high lighted below for reference)

Getting ready to mount and install the SSD to your Mac Book.
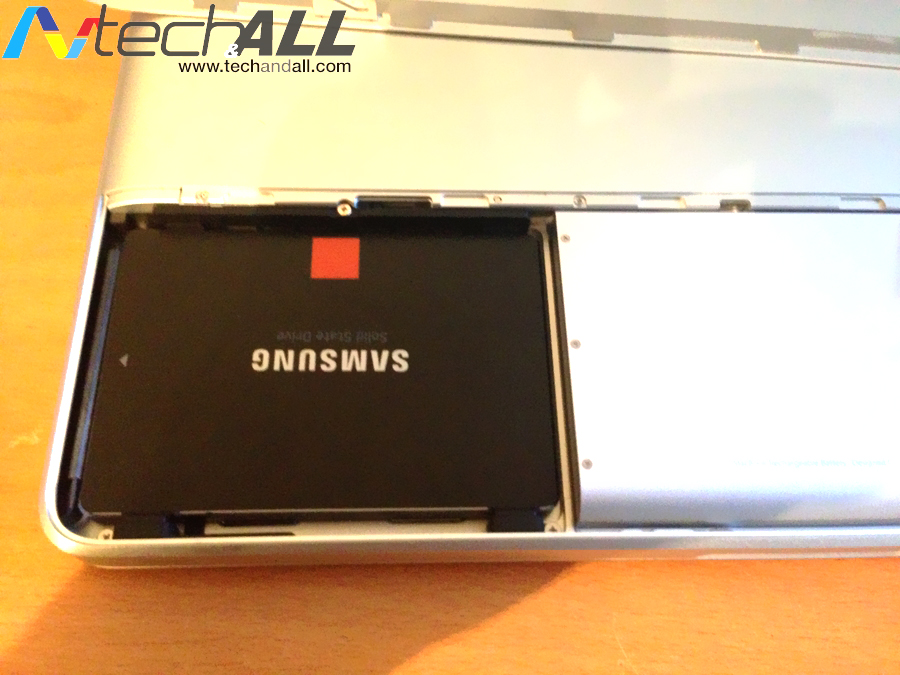
1. Carefully attached the SDD to the connector cable. (Illustration high lighted below for reference)
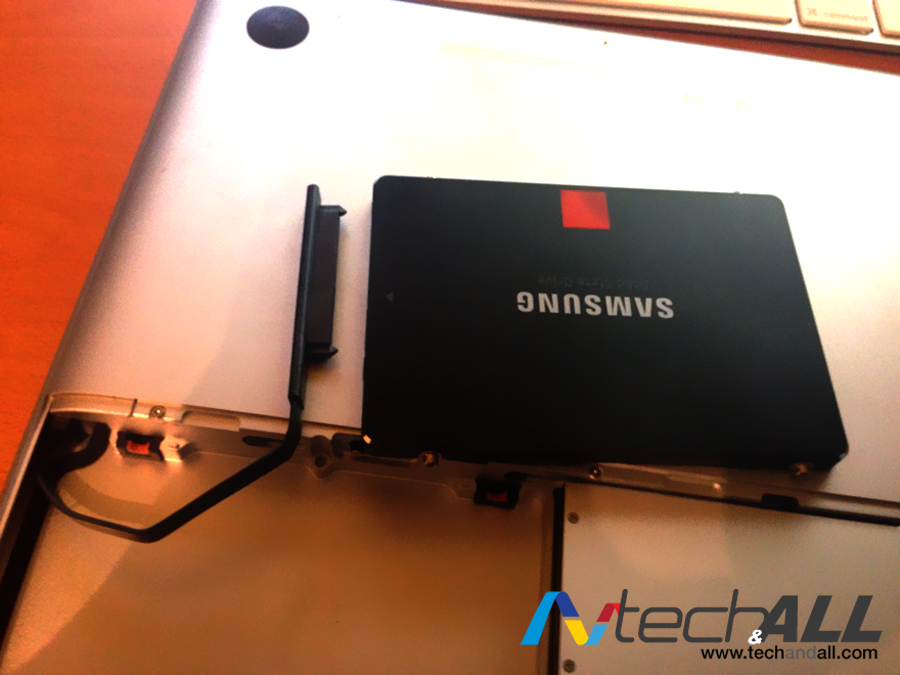
2. Align the mount to the Mac book bay, starting with the bottom 2 mount.
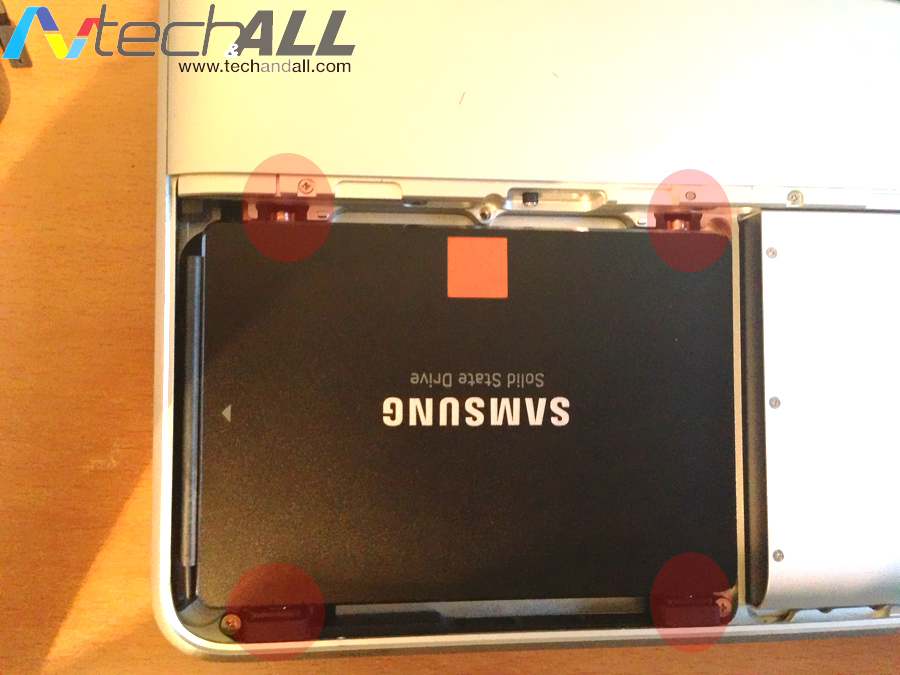
3. Secure back the bracket and tighten the Phillips screw.

Last Step – Keeping the locking lever up, let’s put the battery and battery cover back on, and finally, close the locking lever. You now have a Mac Book with SSD.
[divide]
Fresh Installation of Mac OSX
1. Insert the Mac OS X DVD and press [ALT or Option] key while your Mac is starting to start from the disc
2. Go to Utilities menu > Disk Utility, choose the hard disk in the sidebar and go to Partition tab.
3. Select the existing partition and press – button to delete it.
4. Press “Options” button and choose “GUID Partition Table”. You need it to install OS X.
5. Press + button to create a new partition. In Format, choose “Mac OS Extended (Journaled)” and press Apply.
6. Close Disk Utility and install Mac OS X.
FINALLY! let’s add a little credential 🙂
Available with Samsung SSD – click here


